Propagating Tree Philodendron
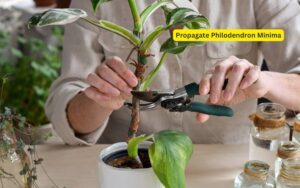
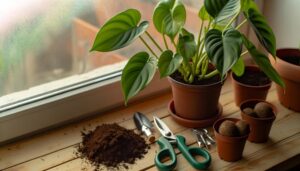
To propagate a Tree Philodendron, use sharp, sterilized pruning shears and rooting hormone containing IBA. Select a healthy cutting with multiple nodes and firm, vibrant leaves.
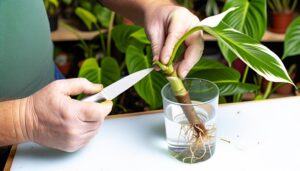
Sterilize tools, make a clean cut below a node, and prepare a 6-8 inch cutting. Submerge the node in water, change the water every 3-5 days, and place the cutting in indirect sunlight.
Once roots reach 2-3 inches, transfer it to well-draining potting mix. Maintain consistent moisture, monitor for pests, and provide bright, indirect light.
By following these steps, you will optimize propagation success and the health of your new plant. Discover further insights and tips ahead.
Key Takeaways
- Use sterilized, sharp pruning shears to take a healthy cutting from a mature Tree Philodendron.
- Ensure the cutting is 6-8 inches long with at least two leaves and multiple nodes.
- Root the cutting in clean, room-temperature water, changing the water every 3-5 days.
- Transfer to well-draining soil when roots are 2-3 inches long, ensuring roots are covered.
- Place the new plant in bright, indirect light and maintain consistent soil moisture.
Choosing the Right Tools
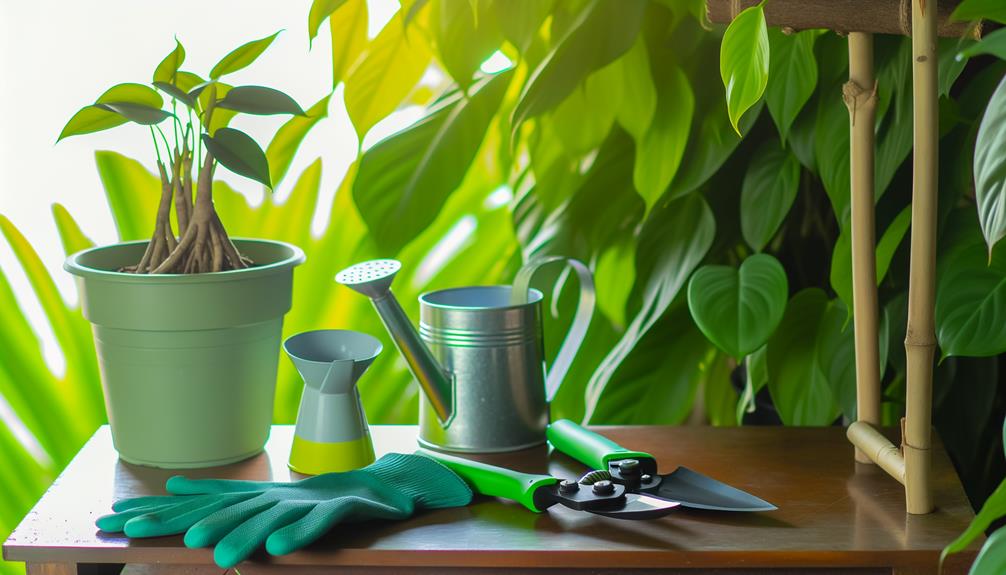
Selecting the appropriate tools is crucial for guaranteeing the successful propagation of a Tree Philodendron, as it directly impacts the efficiency and health of the cuttings.
Sharp, sterilized pruning shears are vital for making clean cuts, minimizing tissue damage, and reducing the risk of pathogen transmission. Additionally, a sterilizing agent such as isopropyl alcohol is necessary to disinfect the shears before and after each use.
A rooting hormone containing indole-3-butyric acid (IBA) can enhance root development when applied to cut ends. Containers with drainage holes, filled with a well-aerated, sterile potting mix, foster ideal conditions for root growth.
Selecting a Healthy Cutting
To ensure successful propagation, it is crucial to choose a cutting from a healthy, mature Tree Philodendron that exhibits robust growth and is free from diseases or pest infestations. Observing the plant's overall health can have a considerable impact on the success rate of propagation.
Follow these guidelines:
- Select a Vigorous Stem: Make sure the stem has multiple leaves and nodes, as these are essential for new root and shoot development.
- Inspect for Pests and Diseases: Carefully examine the cutting for any signs of pests like aphids or scale insects, and avoid stems with discoloration or fungal spots.
- Assess Leaf Condition: Choose stems with firm, vibrant leaves, avoiding those with yellowing or necrotic tissue, which could indicate underlying health issues.
Preparing the Cutting
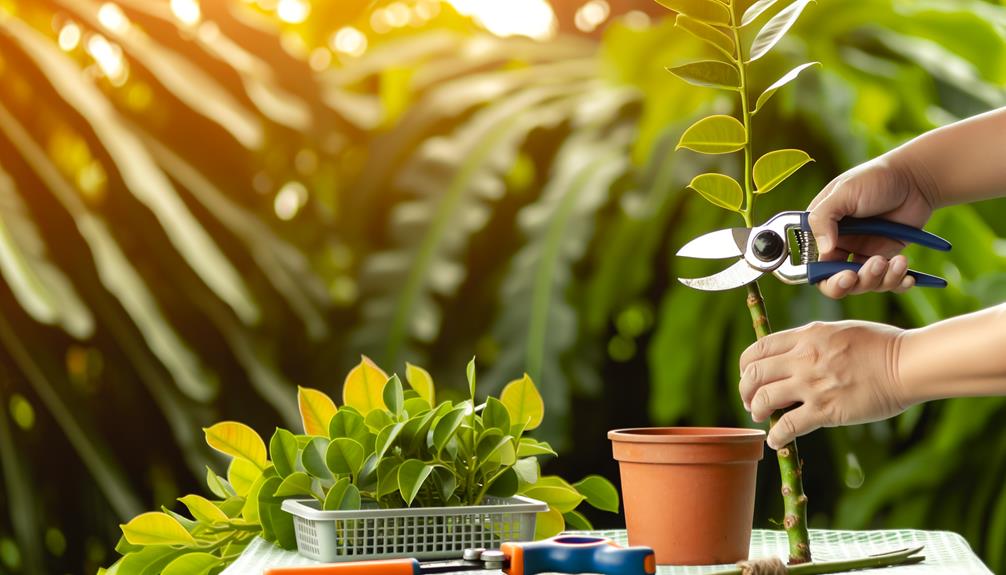
After obtaining a healthy cutting, the next step involves sterilizing your tools to prevent the introduction of pathogens that could compromise the cutting's viability.
Utilize a solution of 70% isopropyl alcohol or a 10% bleach solution to thoroughly disinfect pruning shears or knives.
Next, make a clean cut below a node, which is the point from which roots will emerge. Make sure the cutting is approximately 6-8 inches in length and possesses at least two leaves.
Remove any lower leaves to reduce moisture loss and focus the plant's energy on root development.
Optionally, dip the cut end in rooting hormone to enhance root formation, thereby improving the cutting's chances of successful propagation.
Rooting in Water
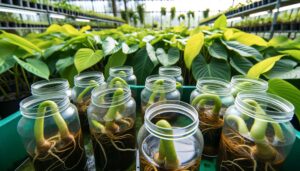
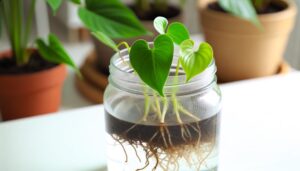
Once the cutting has been properly prepared, place it in a glass of clean, room-temperature water, making sure the node is fully submerged to promote root development. Regular monitoring and maintenance of water quality are essential to prevent bacterial growth and maintain ideal conditions for root initiation.
Follow these steps for effective rooting:
- Water Replacement: Change the water every 3-5 days to sustain oxygen levels and prevent stagnation.
- Light Exposure: Position the glass in indirect sunlight to avoid overheating while providing adequate light for photosynthesis.
- Root Inspection: Check for root growth periodically, aiming for roots to reach 2-3 inches before considering further steps.
These steps support a healthy rooting environment, promoting strong root formation for successful propagation.
Transferring to Soil
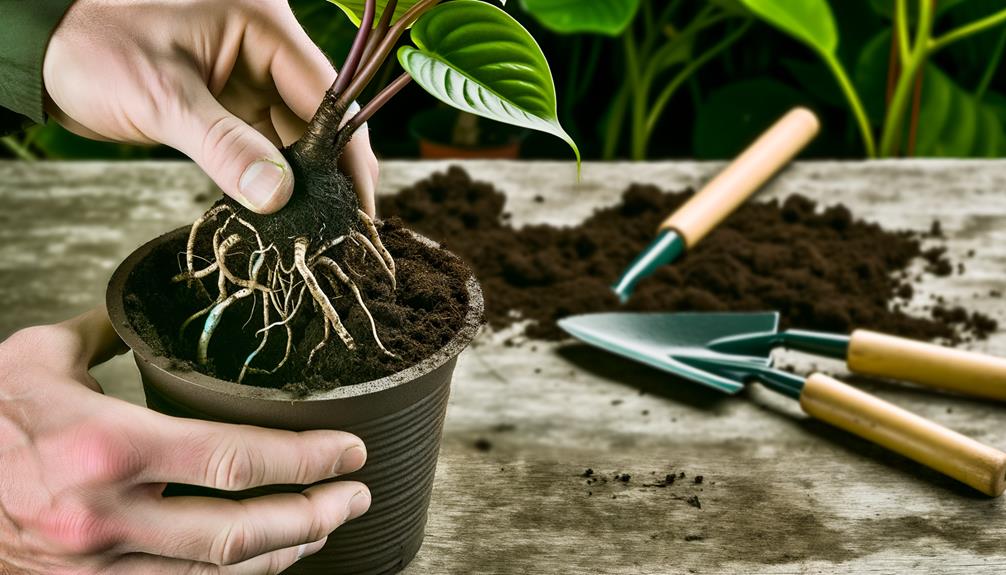
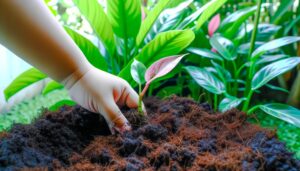
When the roots have reached an ideal length of 2-3 inches, the cutting is ready to be transferred to soil for further growth and development.
Begin by selecting a well-draining potting mix, ideally formulated for aroids. Fill a small container with the soil, ensuring it has adequate drainage holes.
Create a hole in the center of the soil and gently place the rooted cutting into it, ensuring the roots are well-covered by the soil. Firmly but gently press the soil around the base of the cutting to provide stability.
Water the soil thoroughly, allowing excess water to drain completely.
Position the newly potted cutting in a location with indirect, bright light to facilitate acclimation and continued growth.
Caring for New Plants
Proper care for newly potted Tree Philodendron cuttings involves maintaining consistent soil moisture, monitoring for pests, and ensuring ideal light conditions to support healthy growth. This all-encompassing approach maximizes the potential for successful propagation and robust development.
- Soil Moisture: Soil should remain evenly moist but not waterlogged. Utilize a well-draining potting mix and water when the top inch of soil feels dry. Over-watering can lead to root rot, while under-watering inhibits root establishment.
- Pest Monitoring: Regularly inspect the plant for signs of pests such as aphids, spider mites, and mealybugs. Implement integrated pest management strategies, including manual removal and appropriate insecticides if necessary.
- Light Conditions: Place the plant in bright, indirect light. Direct sunlight can scorch the leaves, whereas low light may hinder growth.
Conclusion
The propagation of the tree philodendron is a botanical marvel. It involves an intricate dance of precision and patience. By carefully selecting and preparing cuttings, nurturing roots in water, and skillfully transferring to soil, the cycle of life is perpetuated.
Each stage in this process is a meticulously orchestrated symphony that guarantees the thriving of new plants. This harmonious progression underscores the intricate beauty of botanical cultivation, inviting a deeper appreciation for horticultural artistry and scientific rigor.

