Propagating Philodendron From Leaf
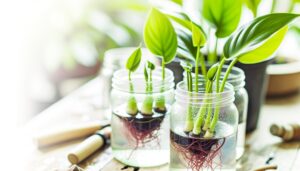
Propagating philodendron from a leaf involves selecting a disease-free leaf with a node and robust petiole. Utilize sterilized pruning shears to make a precise cut below the node, then allow the cutting to air dry for callus formation.
Dip the cut end in high-quality rooting hormone and plant it in a well-draining substrate. Maintain indirect sunlight and moderate watering to sustain ideal humidity and temperature levels.
Regularly inspect for root development and signs of stress such as decay or yellowing. When roots are well-established, transfer to a larger pot with appropriate soil composition and drainage.
Learn about monitoring growth and progression to larger containers.
Key Takeaways
- Select a healthy, vibrant leaf with a strong green color and intact petiole.
- Make a clean cut below the node using sterilized pruning shears and allow the cutting to air dry.
- Dip the cut end in high-quality rooting hormone to enhance root initiation.
- Plant the cutting in well-draining soil, place it in indirect sunlight, and maintain moderate watering.
- Monitor for root growth, leaf health, and potential pest infestations during the propagation process.
Choosing a Healthy Leaf
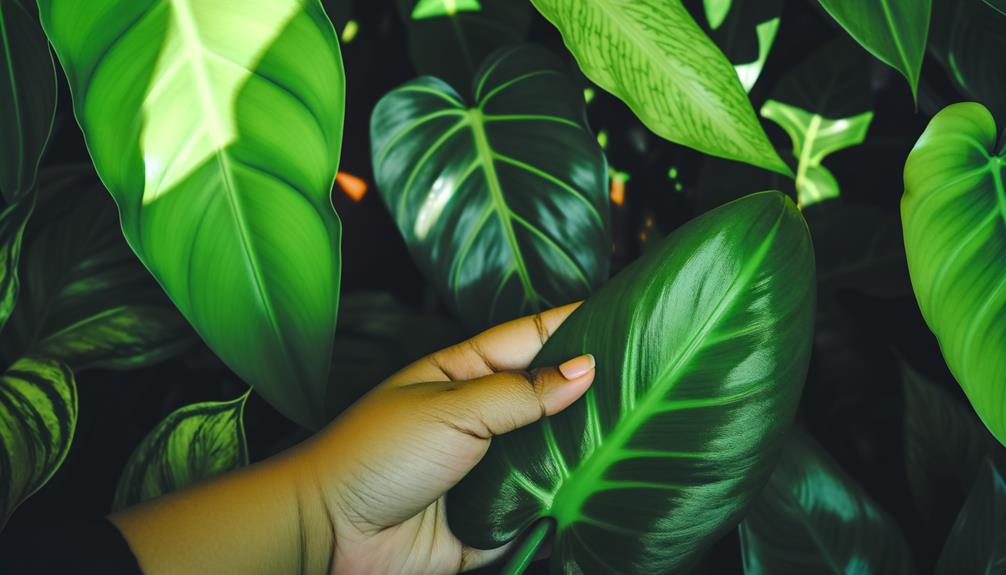
Selecting a best leaf for propagation requires identifying one that is vibrant, free of disease, and exhibits no signs of physical damage. Begin by examining the leaf's coloration; it should be a strong green, indicating ideal chlorophyll levels necessary for photosynthesis.
Inspect for necrotic spots, chlorosis, or any fungal growth, as these are symptomatic of underlying pathogens. Ensure the leaf is turgid, with no evidence of wilting or desiccation, indicating adequate cellular hydration.
Additionally, the leaf petiole should be intact and firm, as this structural integrity is essential for nutrient transport. Avoid leaves with mechanical injuries such as tears or punctures, as they may introduce vectors for infection.
Choosing a pristine leaf enhances the probability of successful propagation.
Necessary Tools and Materials
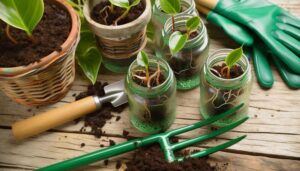
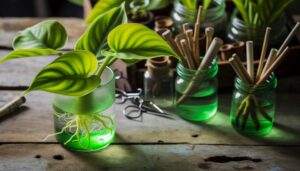
Gathering the appropriate tools and materials is necessary to guarantee a sterile and effective propagation process. Required items include a pair of sterilized, sharp pruning shears or a scalpel to maintain clean cuts, minimizing tissue damage and infection risk.
Use a clean, small container filled with a rooting medium such as perlite, vermiculite, or sphagnum moss to facilitate root development. Additionally, a rooting hormone, either in powder or gel form, can greatly enhance root initiation.
A spray bottle filled with distilled water will maintain proper humidity levels. Finally, make sure you have disposable gloves to prevent contamination and a transparent plastic bag or humidity dome to create a controlled microenvironment, important for preventing desiccation during the initial rooting phase.
Preparing the Leaf Cutting
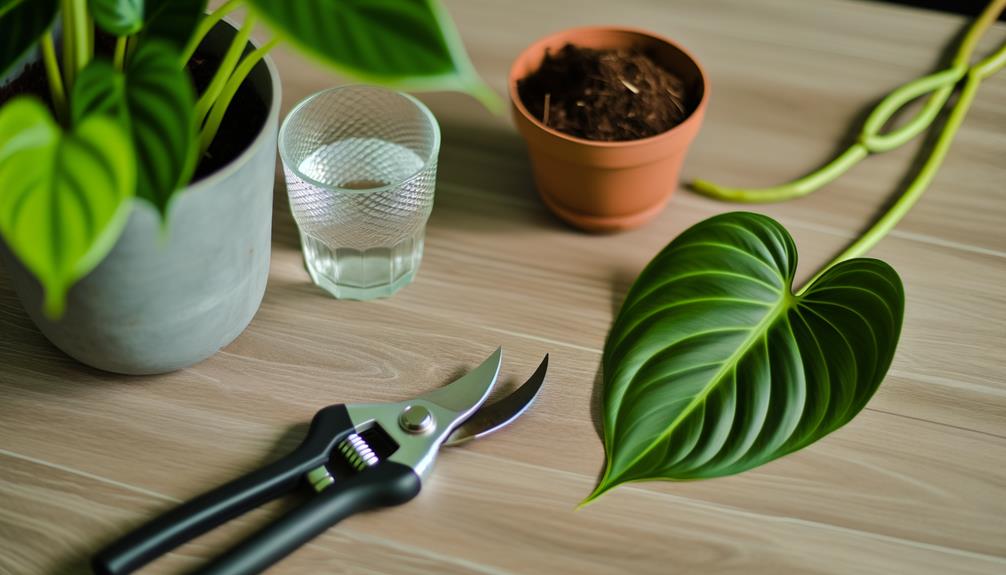
To prepare the leaf cutting, first identify a healthy, mature leaf with a node, as this is crucial for successful root development. Utilize sterilized pruning shears to make a clean cut just below the node, minimizing tissue damage.
The node, a small swelling where leaves and roots originate, contains essential meristematic cells responsible for root initiation. Remove any excess foliage near the node to reduce transpiration and focus energy on root formation.
Place the cutting on a sterile surface and allow it to air dry for a few hours, promoting callus formation at the cut site, which prevents pathogen entry. Maintain the leaf cutting hydrated but not waterlogged during this preparatory phase to optimize subsequent rooting conditions.
Using Rooting Hormone
Applying rooting hormone to the prepared leaf cutting can greatly improve the chances of successful root development by stimulating the growth of new roots from the node. To begin, select a high-quality commercial rooting hormone, available in powder, gel, or liquid form.
Dip the cut end of the leaf cutting into the rooting hormone, ensuring thorough coverage of the node area. Shake off any excess powder or gel to prevent over-application. Rooting hormones typically contain auxins, such as indole-3-butyric acid (IBA) or naphthaleneacetic acid (NAA), which are crucial in promoting cellular differentiation and root formation.
Proper application of rooting hormone significantly increases the likelihood of robust root system establishment, thereby ensuring the overall health and vigor of the propagated philodendron.
Planting in Soil
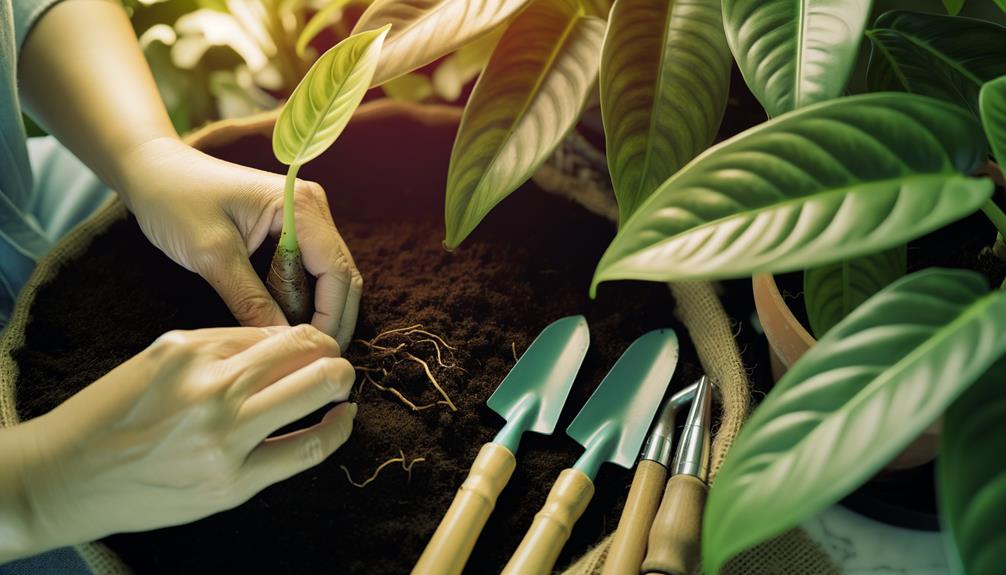
When planting a Philodendron leaf cutting in soil, it is critical to utilize a well-draining substrate, typically a blend of peat moss, perlite, and orchid bark, to facilitate best root aeration.
Employ consistent yet moderate watering techniques, ensuring the soil remains moist but not waterlogged to prevent root rot.
Position the potted cutting in an environment with indirect sunlight and maintain a temperature range between 65-75°F to promote vigorous growth.
Soil Preparation Essentials
Proper soil preparation is necessary for guaranteeing ideal growth conditions when planting philodendron cuttings in soil. Begin by selecting a well-draining substrate, vital for preventing root rot. A mixture of equal parts peat moss, perlite, and vermiculite provides an excellent balance of aeration, moisture retention, and nutrient availability.
Sterilize the potting medium to eliminate pathogens by baking it at 180°F for 30 minutes. The pH should range between 5.5 and 6.5 to sustain nutrient solubility. Incorporate slow-release fertilizers, such as a balanced N-P-K 10-10-10 formula, into the substrate to support initial growth phases.
Guarantee the planting container has adequate drainage holes to facilitate excess water runoff, reducing the risk of waterlogging and promoting healthy root development.
Proper Watering Techniques
To maximize growth and root health for philodendron cuttings planted in soil, it is essential to manage watering techniques meticulously. Begin by ensuring the soil is evenly moist but not waterlogged. Employ a well-draining potting mix to prevent root rot.
Utilize a watering can with a fine spout to deliver water directly to the base of the plant, minimizing leaf wetness. Allow the top inch of soil to dry out between waterings to maintain best moisture balance. Monitor soil moisture levels using a moisture meter for precision.
Avoid overwatering, which can cause oxygen deprivation in the root zone. Proper hydration, complemented by appropriate soil aeration, promotes robust root development and overall plant vigor.
Light and Temperature
Best light and temperature conditions are vital for the successful propagation and growth of philodendron cuttings planted in soil.
Philodendrons thrive in bright, indirect light; direct sunlight can scorch their leaves. Maintain light levels between 10,000 to 20,000 lux for prime photosynthesis.
Temperature plays a key role; maintain ambient temperatures between 70°F (21°C) and 80°F (27°C) for ideal root development. Avoid temperature fluctuations and drafts, as they can hinder growth.
Relative humidity should be kept around 60-70% to simulate tropical conditions. Employ a hygrometer and thermometer for accurate monitoring.
Adequate light and stable temperature conditions will greatly enhance the physiological processes essential for root formation and overall plant vigor in philodendron cuttings.
Optimal Light Conditions
Ensuring ideal light conditions for Philodendron propagation necessitates providing bright, indirect sunlight to promote robust growth and prevent photodamage.
Place the cuttings in an area receiving approximately 10,000 to 20,000 lux of light intensity, which mimics their natural understory habitat.
Direct sunlight should be avoided as it can cause chlorophyll degradation, leading to leaf burn and impaired photosynthetic efficiency.
Artificial lighting, such as fluorescent or LED grow lights, can be employed to supplement natural light, ensuring a photoperiod of 12-16 hours daily.
Monitor the plants closely for signs of etiolation, such as elongated stems or pale leaves, indicating insufficient light exposure.
Adjust positioning as necessary to maintain the best light conditions for vigorous development.
Watering Techniques
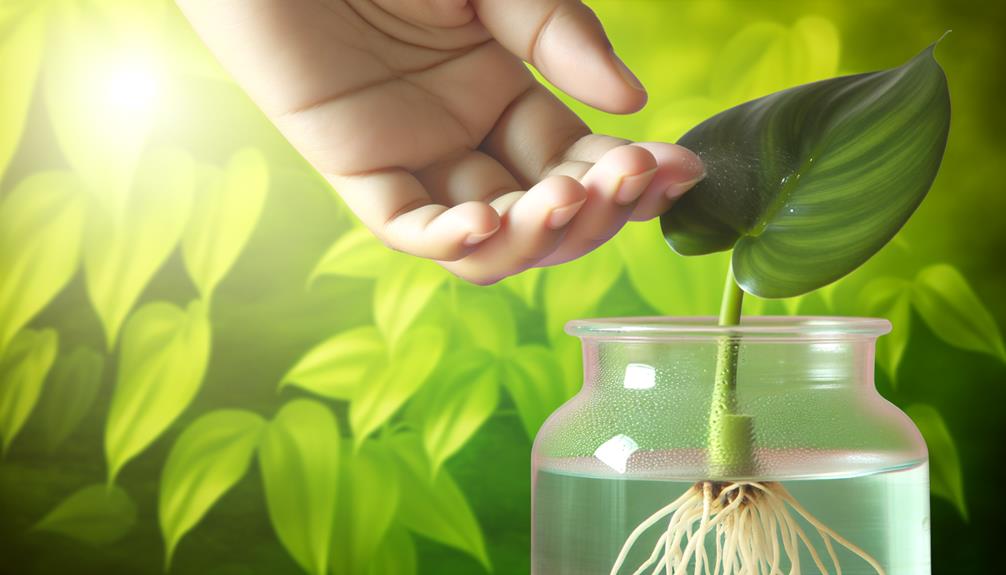
Proper watering techniques are essential for successful Philodendron propagation, necessitating a balance between maintaining adequate moisture and preventing waterlogged conditions. To achieve best hydration, employ a methodical approach: utilize distilled or rainwater, as tap water often contains chlorine and fluoride detrimental to root formation.
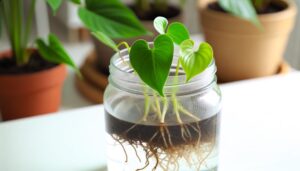
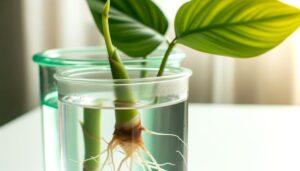
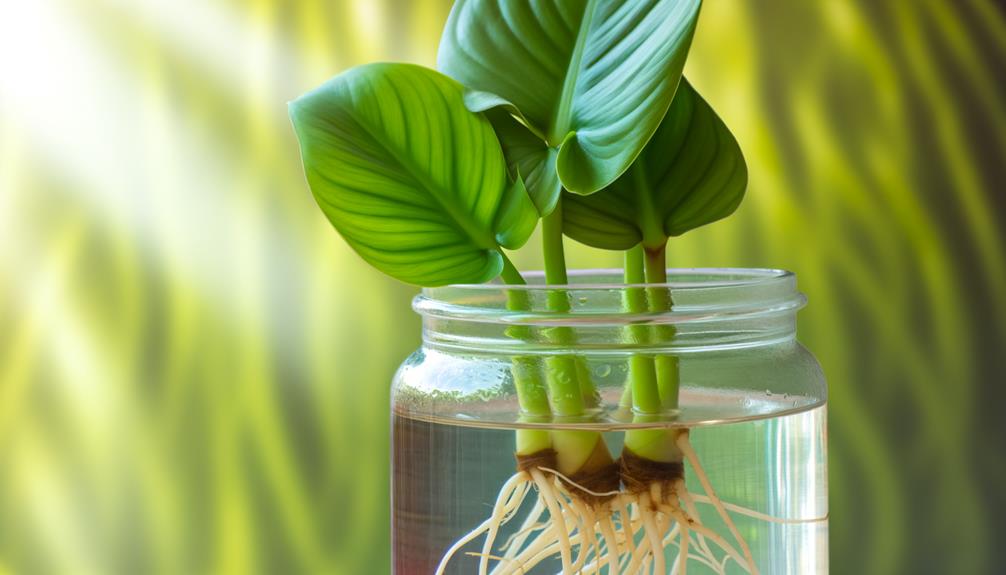
Submerge the base of the leaf cutting in water, ensuring it covers at least one node. Replace the water every 5-7 days to inhibit bacterial growth. Monitor the water level consistently, ensuring it remains constant. Employing a transparent container allows for visual inspection of root development.
Maintain ambient air humidity around 60-70% to promote ideal transpiration. Avoid excessive moisture, which can lead to anaerobic conditions and root rot.
Monitoring Growth
Observing the growth of Philodendron cuttings requires meticulous attention to key indicators such as root elongation, foliar development, and overall plant vigor. Regularly inspect the cuttings for root proliferation, noting both root length and density. Healthy roots typically exhibit a white or light tan coloration.
Foliar development should be monitored for new leaf emergence and any changes in pigmentation, which could signify nutrient uptake. Evaluate overall plant vigor by gauging turgidity; a robust Philodendron cutting will display firm leaves and stems.
Environmental parameters such as humidity, temperature, and light intensity must be consistently regulated to optimize growth conditions. Document observations and growth metrics to establish a baseline for future comparisons, ensuring any deviations are promptly addressed.
Dealing With Common Issues
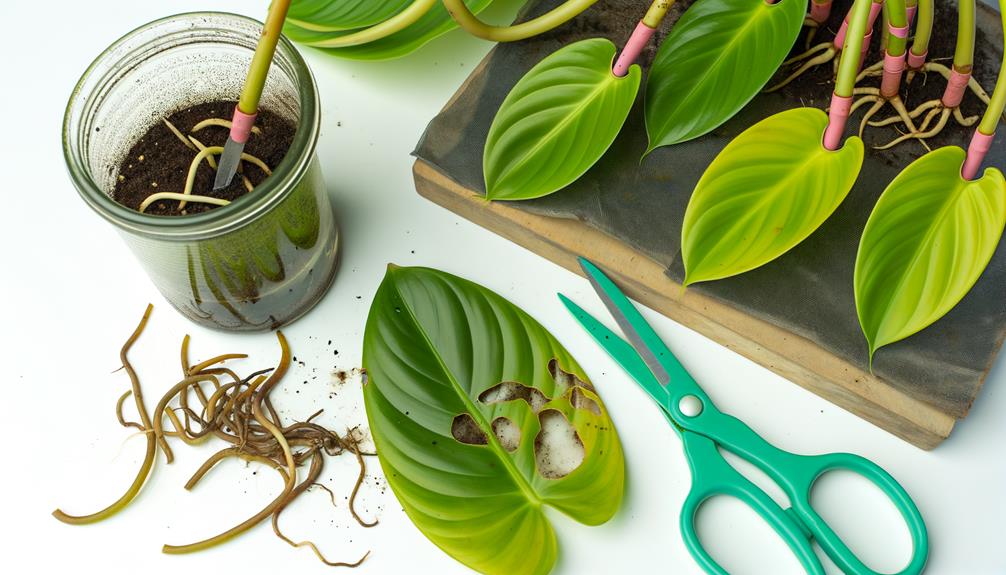
Addressing common issues in Philodendron propagation involves diagnosing symptoms such as root decay, leaf yellowing, and pest infestations, and implementing targeted remedial actions.
Root decay, typically resulting from excessive watering, can be mitigated by ensuring well-draining substrate and reducing irrigation frequency.
For leaf yellowing, characterized by yellowing leaves, assess nutrient deficiencies, particularly nitrogen, and adjust fertilization schedules accordingly.
Pest infestations, such as spider mites or aphids, necessitate immediate intervention with insecticidal soaps or neem oil applications.
Regularly inspect the plant for early signs of distress and maintain best environmental conditions, including humidity and light levels, to bolster overall plant health.
Employing these targeted measures ensures strong growth and successful Philodendron propagation.
Transferring to a Larger Pot
When transferring a propagated Philodendron to a larger pot, it is essential to select a well-draining soil mix that supports root aeration and moisture retention.
The best pot size should provide adequate space for root expansion without causing waterlogging, typically increasing the pot diameter by 2-4 inches.
Make sure the new container has proper drainage holes to prevent root rot and promote healthy growth.
Choosing Proper Soil
Selecting a suitable soil medium for transferring your philodendron to a larger pot is important for promoting best root development and overall plant health. The ideal soil composition should facilitate adequate drainage while retaining sufficient moisture and nutrients. Here are key considerations:
- Soil Composition: Utilize a well-aerated mix comprising peat moss, perlite, and pine bark. This combination promotes proper aeration and moisture retention.
- pH Level: Maintain a slightly acidic to neutral pH range (5.5 to 7.0). This pH range supports nutrient availability and uptake.
- Nutrient Content: Incorporate slow-release fertilizers or organic matter such as compost to provide essential nutrients over time, fostering strong growth.
Best soil selection underpins the successful propagation and long-term health of your philodendron.
Optimal Pot Size
Determining the best pot size for transferring your philodendron is essential for accommodating root expansion and ensuring robust growth. A pot with a diameter 2-3 inches larger than the current one is ideal, allowing sufficient space for root proliferation without overwhelming the plant.
Utilize containers with drainage holes to prevent water stagnation, which can lead to root rot. The pot material should facilitate breathability; terracotta is highly recommended for its porosity.
When transferring, gently loosen the root ball to encourage outward growth into the new soil medium. Avoid compacting the soil too tightly to maintain adequate aeration and drainage.
Monitor the plant post-transfer for signs of stress, adjusting water and light conditions as necessary to promote acclimatization.
Conclusion
To sum up, the careful process of propagating philodendron from a leaf cutting involves the choice of a strong leaf and the use of sophisticated tools. Exact preparation, strategic use of rooting hormone, detailed planting techniques, best watering strategies, and attentive growth monitoring are essential steps in ensuring success. This propagation method, when carried out with scientific precision and diligent attention to detail, guarantees unmatched success.
The eventual transfer to a larger pot represents the peak of horticultural achievement, turning a basic leaf into a flourishing botanical wonder.

