How to Propagate Philodendron Green Emerald? Easy Steps!
To propagate Philodendron Green Emerald, begin by sterilizing pruning shears with isopropyl alcohol. Select a healthy stem with at least one node and no signs of disease.
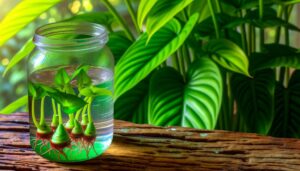
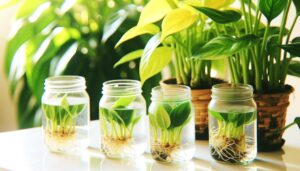
Make a clean, angled cut just below the node. Place the cutting in a clean glass jar filled with distilled water.
Make sure it receives bright, indirect light and maintain humidity at 60-70%. Roots will develop within a few weeks.
Transplant to a well-draining soil mix when roots are established. Keep the environment at 70-80°F and water when the top inch of soil is dry.
Discover further intricacies to secure successful propagation.
Key Takeaways
- Select a healthy stem with at least one node and robust, undamaged leaves.
- Sterilize pruning shears with isopropyl alcohol before making the cut.
- Make a clean, angled cut just below the node.
- Place the cutting in a clean glass jar filled with distilled or filtered water.
- Provide bright, indirect light and maintain high humidity for optimal growth.
Gather Your Supplies
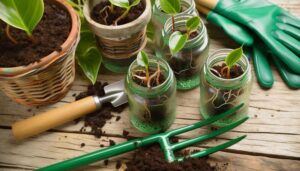
To begin propagating Philodendron Green Emerald, you will need to gather several necessary supplies, including a pair of sterilized pruning shears, a clean glass jar, and fresh water.
Sterilization of pruning shears is vital to prevent the introduction of pathogens, which can compromise the cutting’s health. Use a solution of isopropyl alcohol or bleach to sterilize the blades thoroughly.
The glass jar should be see-through to allow for monitoring root development. Fresh water, ideally distilled or filtered, is essential to avoid chlorine and other chemicals that may hinder root growth.
Additionally, make sure the jar is deep enough to support the cutting without submerging the leaves. Assemble these materials meticulously to create an ideal environment for successful propagation.
Choose a Healthy Stem
When selecting a stem for propagation, first make sure the leaf quality is robust and free from discoloration or damage, as healthy leaves indicate overall plant vitality.
Next, confirm the presence of at least one node, as nodes are crucial for root development in the new cutting.
Inspect Leaf Quality
Choosing a healthy stem for propagation requires a careful examination of the leaf quality to guarantee the plant’s overall vigor and potential for successful growth. Start by selecting leaves that exhibit a uniform green color without any signs of chlorosis, necrosis, or pest infestation.
Verify that the leaves are turgid, indicating sufficient cellular hydration and overall plant health. Avoid stems with leaves that are yellowing, browning, or displaying any form of mechanical damage, as these can be indicative of underlying health issues.
Additionally, inspect the leaf surface for fungal infections or insect damage, which can compromise the propagation success. By selecting stems with robust, healthy leaves, you enhance the likelihood of vigorous root development and subsequent plant growth.
Check for Nodes
After confirming the leaf quality is ideal, the next step involves identifying stems with well-developed nodes, which are crucial for successful propagation. Nodes are the points on a stem where leaves and roots can originate, playing a pivotal role in new growth.
Carefully examine the plant and select stems that exhibit prominent, healthy nodes. These nodes should appear slightly swollen and have aerial roots or small buds.
| Criteria | Description |
|---|---|
| Node Identification | Look for swollen areas where leaves or roots emerge |
| Stem Selection | Choose stems with multiple nodes |
| Node Health | Ensure nodes are firm and free from damage |
| Aerial Roots Presence | Prefer nodes with visible aerial roots |
| Buds or Growth Points | Select nodes showing signs of new growth |
Incorporating these guidelines will greatly improve the likelihood of successful propagation.
Avoid Diseased Stems
Selecting a healthy stem is crucial to successful propagation, requiring a meticulous examination for any signs of disease or damage. This process guarantees that the cutting has the highest potential for robust growth. Diseased or damaged stems can harbor pathogens, which may impede root development or lead to plant failure.
To secure the selected stem is healthy, follow these steps:
- Inspect for Discoloration: Confirm the stem is uniformly green without any yellow, brown, or black patches indicating disease.
- Check for Softness: The stem should be firm; softness may indicate rot or other underlying issues.
- Look for Pests: Examine closely for any insects or eggs that could hinder growth.
- Assess Foliage: Leaves should be vibrant and free from spots or wilting, indicating overall plant health.
Make the Cut
To secure a healthy propagation, make a precise cut just below a node using a sterile, sharp blade. Verify the blade is sanitized with isopropyl alcohol to prevent contamination. The node is a critical part as it contains meristematic cells essential for root and shoot development.
Here is a quick reference table for making the cut:
| Step | Description |
|---|---|
| Identify | Locate a healthy stem segment with at least one node. |
| Sterilize | Clean the cutting tool with isopropyl alcohol to avoid infection. |
| Position | Place the blade just below the node, ensuring a clean, angled cut. |
| Cut | Execute a single, swift motion to avoid crushing plant tissues. |
| Inspect | Check the cutting for any signs of disease or damage before proceeding. |
Following these steps will optimize the chances of successful propagation.
Rooting in Water
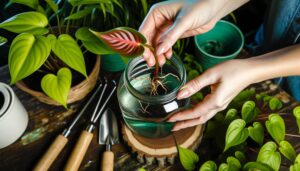
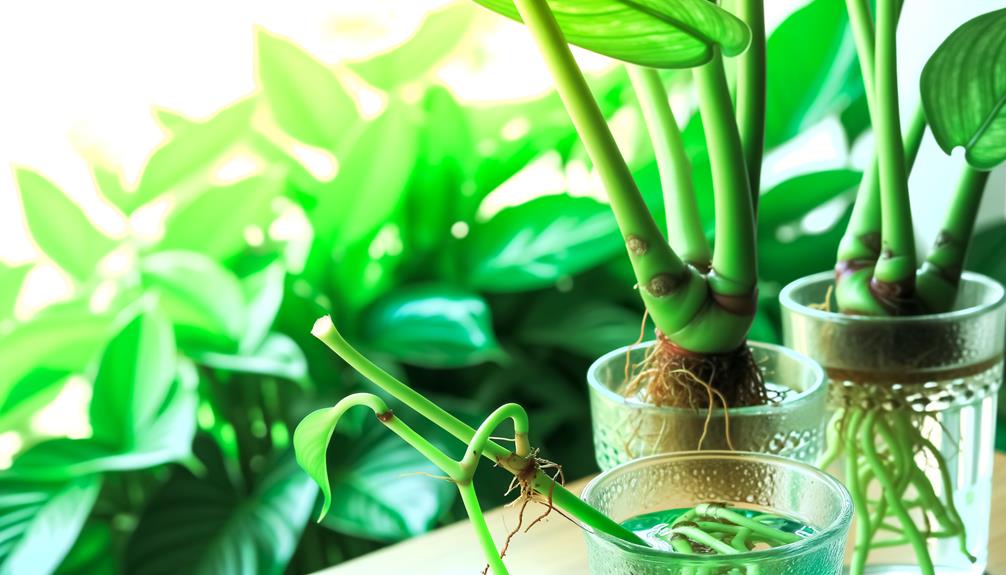
Once the cutting is prepared, place it in a clean container filled with water, ensuring that the node is fully submerged to facilitate root development.
Follow these steps to optimize rooting conditions:
- Select a Transparent Container: Use a clear glass jar to monitor root growth and water clarity.
- Water Quality: Utilize distilled or filtered water to prevent mineral buildup and potential contamination.
- Change Water Regularly: Replace the water every 3-5 days to maintain oxygen levels and prevent pathogen proliferation.
- Optimal Light Conditions: Position the container in indirect sunlight, ensuring the cutting receives adequate light without direct exposure, which may cause heat stress.
Adhering to these guidelines will enhance the success rate of rooting your Philodendron Green Emerald cutting in water.
Transplanting to Soil
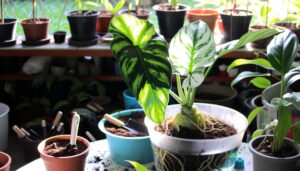
After the roots have developed sufficiently, typically reaching a length of 2-3 inches, it is important to transfer the Philodendron Green Emerald cutting into soil to provide essential nutrients and support further growth.
Select a well-draining potting mix, ideally formulated with perlite, peat moss, and orchid bark. Fill a clean pot halfway with the soil mixture, verifying adequate drainage holes.
Gently place the rooted cutting into the pot, positioning the roots downward. Fill in around the cutting with additional soil, firming gently to eliminate air pockets and provide stability. Confirm the top of the root ball is level with the soil surface.
Water thoroughly, allowing excess moisture to drain out, and place the pot in a location with indirect light.
Aftercare Tips
Ensuring the continued health and strength of your Philodendron Green Emerald involves maintaining ideal moisture levels, providing suitable light conditions, and regularly checking for pests and diseases. Proper aftercare is essential for the plant’s long-term well-being.
- Moisture: Sustain consistent soil moisture, avoiding both waterlogging and drought. Water when the top inch of soil feels dry.
- Light: Position the plant in bright, indirect light. Avoid direct sunlight, which can scorch the leaves.
- Humidity: Maintain ambient humidity levels above 60%. Use a humidifier or pebble tray if necessary.
- Inspection: Regularly examine for signs of pests such as aphids or spider mites, and monitor for fungal diseases. Early detection is key to effective management.
These steps will promote robust growth and resilience.
Common Mistakes
One common mistake in propagating Philodendron Green Emerald is overwatering, which can lead to root rot and fungal infections. To mitigate this, make sure the propagation medium is well-draining and only water when the top inch of the soil feels dry.
Another frequent error is using blunt or contaminated tools when taking cuttings, which can introduce pathogens and hinder root development. Always sterilize cutting instruments with isopropyl alcohol before use.
Inadequate lighting is also detrimental; Philodendron cuttings require bright, indirect light to photosynthesize effectively during root formation.
Finally, neglecting humidity can impede growth. Maintain a relative humidity level of 60-70% by using humidity trays or misting the cuttings regularly.
Following these guidelines will increase propagation success.
Conclusion
The propagation of Philodendron ‘Green Emerald’ entails a careful process similar to nurturing a delicate seedling into a robust plant. By gathering suitable supplies, selecting a strong stem, making accurate cuts, rooting in water, and transplanting to soil, one secures ideal growth.
Adherence to aftercare guidelines and avoiding common pitfalls further ensures success. Such systematic steps form the foundation of a flourishing Philodendron, much like the meticulous artistry of a skilled sculptor bringing raw material to life.


