How to Propagate Philodendron? Essential Tips and Techniques!
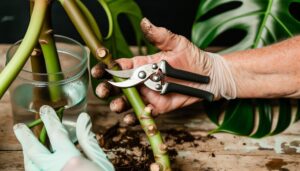
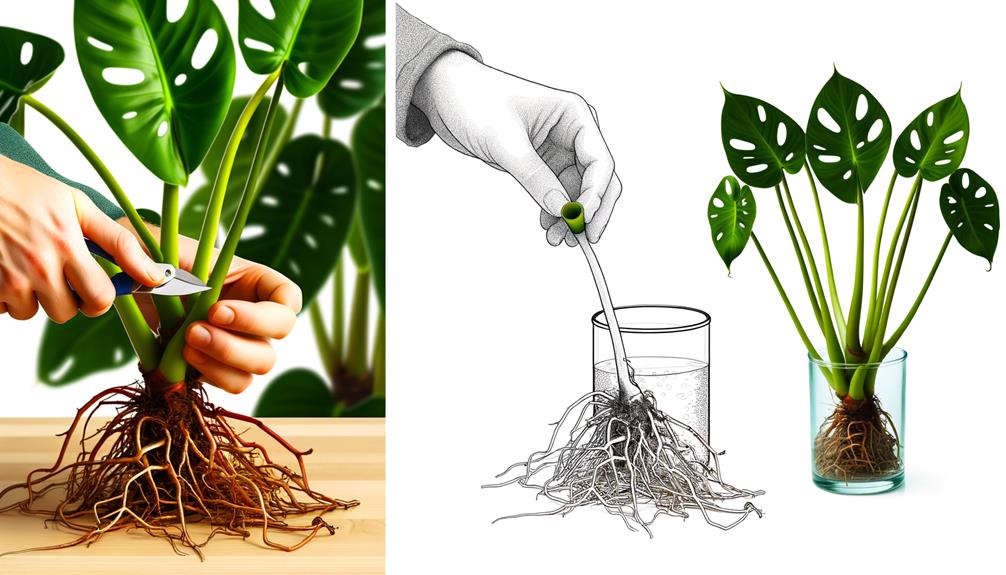
To propagate philodendron, start by selecting a healthy stem with multiple nodes. Use clean pruning shears to make a precise cut just below a node.
Prepare a rooting medium of water or a well-draining potting mix comprising peat moss, perlite, and pine bark fines. Dip the cut end in rooting hormone to accelerate root development.
Place the cutting in the medium, making sure it is properly supported and at the right depth. Maintain moderate watering, indirect light, and stable temperatures (70-85°F) for best growth.
Following these steps closely ensures successful propagation and plant health; further refinement in this process can yield even better outcomes.
Key Takeaways
- Select healthy stems with multiple nodes and vigorous growth for successful propagation.
- Use quality pruning shears to make clean cuts just below the node for optimal root initiation.
- Apply rooting hormone to cut ends to enhance root development and accelerate propagation.
- Root cuttings in water or a well-draining potting mix, ensuring proper humidity and planting depth.
- Transplant rooted cuttings into a pot with drainage holes, using a well-draining soil mix, and provide moderate watering and indirect bright light.
Understanding Philodendron Types
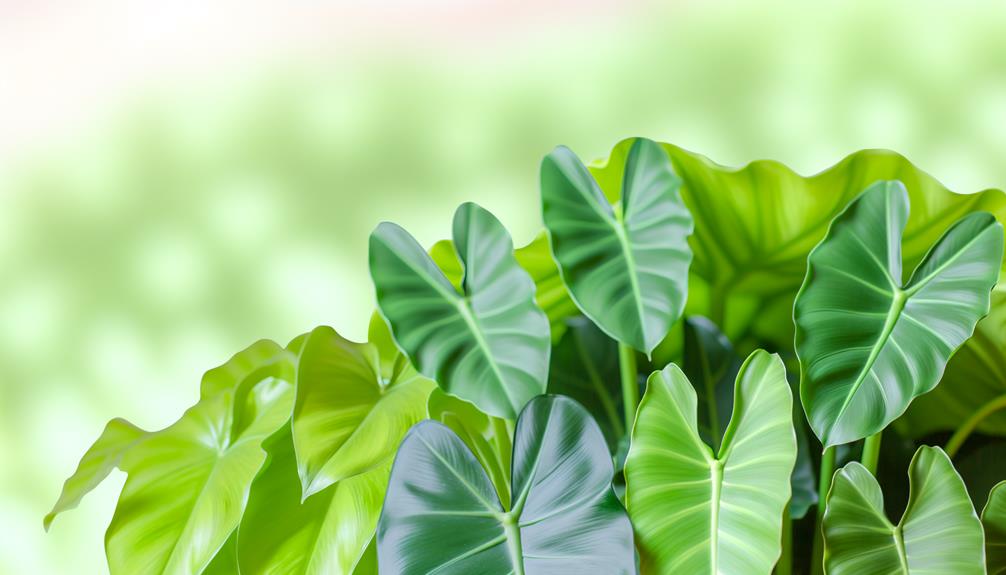
Philodendrons, belonging to the Araceae family, encompass a diverse array of species and cultivars, each exhibiting unique morphological characteristics and growth requirements.
These tropical plants are primarily categorized into two main types: vining and non-vining. Vining philodendrons, such as Philodendron hederaceum, produce elongated stems that require structural support for best growth. In contrast, non-vining varieties like Philodendron bipinnatifidum, exhibit a self-supporting, upright growth habit.
Leaf morphology also varies significantly; some species display large, lobed leaves, while others have smaller, heart-shaped foliage. Understanding these distinctions is crucial for successful propagation, as each type may necessitate specific environmental conditions and care techniques.
Identifying the philodendron type informs the propagation strategy, ensuring robust and healthy plant development.
Essential Tools and Materials
To guarantee successful propagation of Philodendron, specific tools and materials are necessary. High-quality pruning shears are essential for making clean cuts. Rooting hormone accelerates root development. A well-draining potting mix is vital to provide the ideal environment for new roots to establish and thrive.
Pruning Shears Selection
Selecting the appropriate pruning shears is essential for ensuring clean cuts and promoting healthy growth in philodendron propagation. Precision and sharpness are paramount; selecting high-quality shears can greatly impact the success of your propagation efforts.
Consider the following key aspects:
- Blade Material: Opt for stainless steel or carbon steel blades, as they maintain sharpness and resist corrosion, ensuring longevity and efficiency.
- Ergonomic Design: Choose pruning shears with ergonomic handles to reduce hand strain and increase comfort during extended use.
- Cutting Mechanism: Bypass shears are preferable for philodendron, as their scissor-like action provides cleaner cuts, minimizing plant tissue damage.
A well-chosen pair of pruning shears will make the propagation process more effective and less taxing for both the plant and the gardener.
Rooting Hormone Use
Utilizing rooting hormone can greatly enhance the success rate of philodendron propagation by encouraging strong root development. Rooting hormones, available in powder, liquid, or gel form, contain auxins—plant growth regulators that stimulate root initiation.
When applied to the cut end of a philodendron cutting, these substances expedite cellular differentiation and proliferation, fostering more rapid and extensive root formation. To use, first dip the cut end into the rooting hormone, ensuring an even coating. Tap off excess to prevent clumping, which could hinder root growth.
Rooting hormone is particularly beneficial for philodendron varieties that are slower to root or when propagating in less-than-ideal conditions. Proper application can significantly reduce propagation time and increase overall plant health.
Proper Potting Mix
After applying rooting hormone to your philodendron cuttings, the next critical step involves selecting the appropriate potting mix to support robust root growth and overall plant health.
An ideal potting mix should offer excellent drainage, aeration, and nutrient retention. Consider the following components:
- Peat Moss: Provides moisture retention and a slightly acidic pH, which philodendrons prefer.
- Perlite: Enhances aeration and drainage, preventing root rot by allowing excess water to escape.
- Pine Bark Fines: Adds organic matter and improves soil structure, promoting healthy root development.
Mix these components in a ratio of approximately 2:1:1 (peat moss: perlite: pine bark fines) to create a balanced, well-draining medium.
Ensuring these elements are present will facilitate a thriving environment for your philodendron cuttings.
Best Time for Propagation

The best time for propagating Philodendron is during the spring and early summer months, coinciding with their natural growth cycle.
During this period, the ambient temperatures are generally ideal, typically ranging between 70-85°F, which promotes robust root development and overall plant health.
Ensuring these conditions can greatly improve the success rate of propagation efforts.
Ideal Growing Season
For best results, Philodendron propagation should ideally be undertaken during the spring and early summer months when the plant’s growth activity is at its peak. This period provides prime conditions for root development and shoot proliferation.
During these months, the increased day length and ambient temperatures stimulate vigorous cellular processes within the plant, enhancing the success rate of cuttings. Additionally, the nutrient uptake from the soil is more effective.
Key factors for choosing this ideal growing season include:
- Day length: Longer daylight hours promote photosynthesis, essential for root and shoot growth.
- Temperature: Warm temperatures support enzymatic activities that are vital for root formation.
- Humidity: Higher humidity levels during these months reduce transpiration stress, aiding in healthier propagation.
Seasonal Temperature Considerations
Considering seasonal temperature dynamics is necessary for the successful propagation of Philodendrons, as ideal root and shoot development occurs within a specific thermal range. Best temperatures for propagation are between 70°F and 80°F (21°C to 27°C), facilitating enzymatic and cellular activities essential for growth.
During these temperatures, plant hormones such as auxins and cytokinins operate efficiently, promoting adventitious root formation. Propagation outside this range may result in slower growth rates or failure in root establishment.
Spring and early summer typically provide these conditions naturally. Conversely, winter propagation should be avoided unless supplemental heating and controlled environments can be provided.
Monitoring and maintaining this temperature range will greatly enhance the success rate of Philodendron propagation efforts.
Selecting a Healthy Stem
Carefully examine the philodendron plant to identify a stem that exhibits robust growth, guaranteeing it has several healthy leaves and nodes. Choosing an ideal stem is essential for successful propagation.
A suitable stem should meet specific criteria:
- Leaf Health: Select stems with vibrant, unblemished leaves, indicating the plant’s overall strength. Avoid stems with yellowing or damaged leaves.
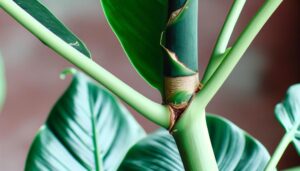
- Node Presence: Ensure the stem has multiple nodes, as these are the points from which new roots will develop. Nodes appear as small bumps or rings along the stem.
- Stem Condition: Choose a stem that is neither too old nor too young. It should be semi-mature, with a firm texture, guaranteeing it has the necessary nutrients for root development.
Following these guidelines will improve propagation success.
Making the Cut
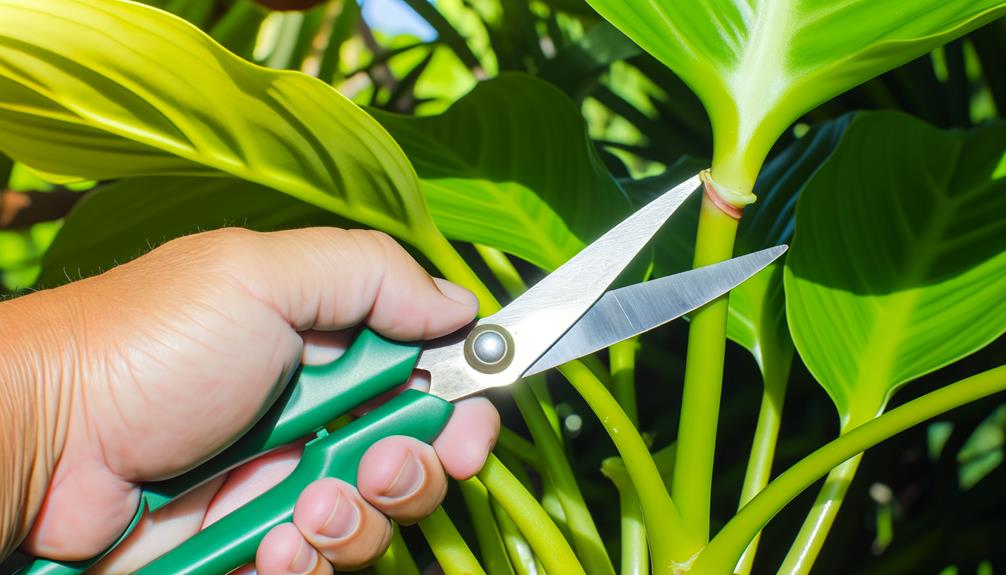
Guaranteeing a precise cut is crucial, employ a sterilized, sharp blade to sever the selected stem just beneath a node. This node is crucial, as it contains the meristematic cells essential for root development.
The blade must be sterilized to prevent potential infections that could jeopardize the health of the cutting. A clean, swift cut minimizes damage to the plant tissues, promoting quicker healing and reducing stress on the plant.
Confirm the cut is diagonal; this increases the surface area for water absorption, enhancing the cutting’s ability to sustain itself during the initial propagation phase.
Preparing the Cutting
When preparing the cutting for propagation, it is crucial to select healthy stems that exhibit no signs of disease or pest infestation.
Make sure that the cut is made just below a node, as this is where root development is most likely to occur.
Employ sterilized, sharp pruning shears to prevent tissue damage and reduce the risk of infection.
Selecting Healthy Stems
Identifying a healthy stem for propagation involves selecting one that is strong, free of disease, and contains several nodes to guarantee maximum growth potential.
To achieve successful propagation, follow these criteria:
- Strength and Resilience: Choose stems that are sturdy and show vigorous growth without any signs of wilting or weakness. Healthy stems should have a vibrant green color and be free from any discoloration or damage.
- Free of Disease: Inspect the stem for any signs of pests, fungus, or disease. Avoid stems with spots, mold, or any irregularities that indicate poor health.
- Presence of Nodes: Select stems with multiple nodes, as these are essential for root development. Nodes are the points on the stem where leaves and roots can emerge, thereby ensuring better propagation success.
Cutting Below Nodes
After selecting a healthy stem, the next step involves making a precise cut just below a node to facilitate optimal root development.
The node is a critical part of the stem where leaves and roots originate. Utilizing a sterilized, sharp pruning tool, make a clean, 45-degree cut approximately half an inch below the node. This angle provides a larger surface area for root formation.
Guarantee the cutting includes at least one node and a few leaves to maximize photosynthesis during root growth. Avoid damaging the node, as it is the primary site for root emergence.
Properly executed, this technique enhances the cutting’s ability to absorb water and nutrients, thereby maximizing the propagation success rate.
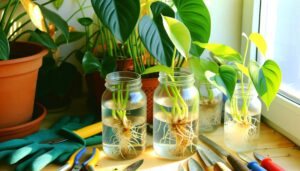
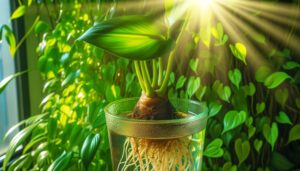
Rooting in Water
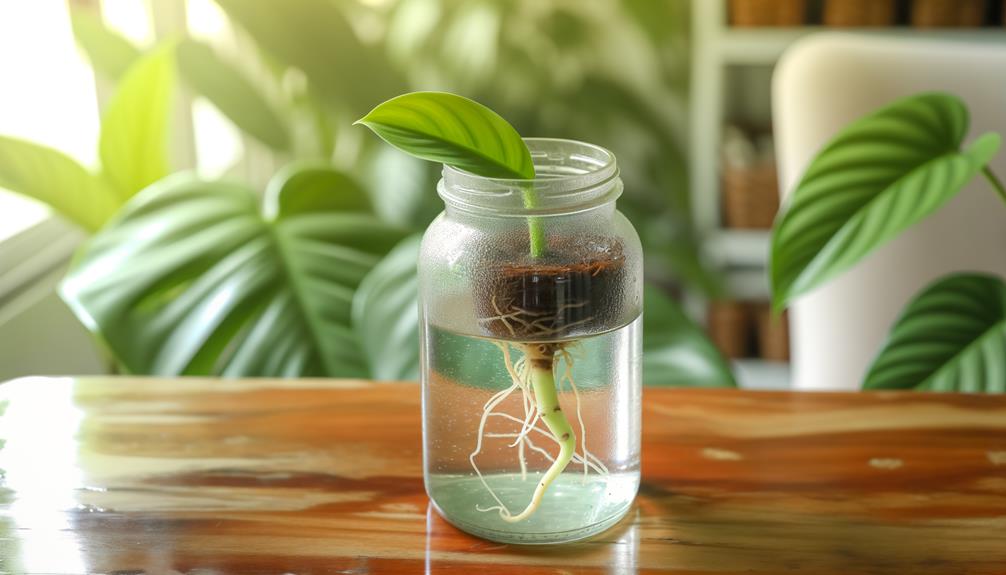
To successfully root a philodendron cutting in water, it is essential to start with a healthy stem segment that includes at least one node and a few leaves.
Follow these steps to ensure ideal rooting conditions:
- Preparation: Select a clean glass container and fill it with room-temperature water, making sure the node is submerged while the leaves remain above the waterline.
- Placement: Position the container in a location with indirect sunlight to prevent algae growth and leaf burn, as direct sunlight can be harmful.
- Maintenance: Change the water every 3-5 days to provide fresh oxygen and prevent bacterial growth, which can impede root development.
Rooting in Soil
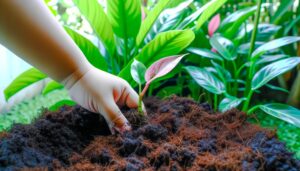
Rooting philodendron cuttings in soil requires a well-draining potting mix to ensure adequate aeration and prevent waterlogging, which can lead to root rot. A mixture of peat moss, perlite, and vermiculite is ideal, as it maintains moisture while facilitating drainage.
Begin by filling a small pot with this mix, ensuring it is evenly moist but not waterlogged. Insert the cutting approximately one inch deep, ensuring at least one node is buried.
Maintaining a consistent humidity level is essential; consider covering the pot with a plastic bag to create a mini-greenhouse effect. Place the pot in a warm, indirect light location.
Monitor the soil moisture and avoid overwatering, checking for root development after four to six weeks.
Transplanting the Cutting
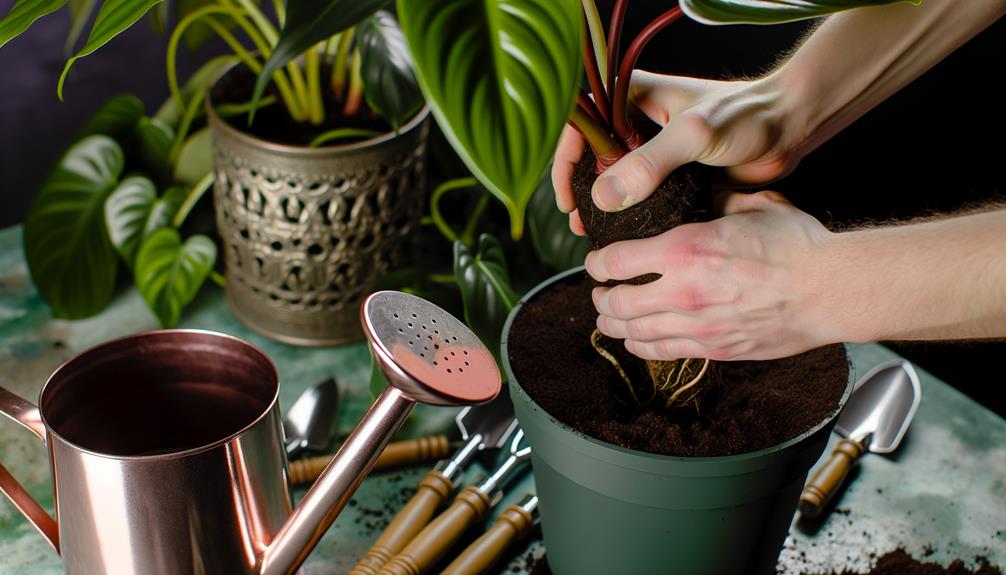
Once the philodendron cuttings have established a robust root system in the soil, the next step is to transplant them into a larger pot to support continued growth and development. This process involves careful handling to prevent root damage and facilitate prime growth conditions.
Follow these steps:
- Select an Appropriate Pot: Choose a pot that is 1-2 inches larger in diameter than the current one. Make sure it has drainage holes to prevent waterlogging.
- Prepare the Soil Mix: Use a well-draining potting mix, ideally a blend of peat, perlite, and orchid bark, to provide sufficient aeration and moisture retention.
- Transplanting Technique: Gently remove the cutting from its current pot, place it in the center of the new pot, and fill around it with the prepared soil mix, ensuring the roots are well-covered.
Caring for New Plants
Proper care for newly transplanted philodendron involves careful attention to watering, light conditions, and temperature to promote best growth and health.
Newly propagated plants should be watered moderately, ensuring the soil remains moist but not saturated to prevent root rot.
Light conditions should mimic the plant’s native environment; indirect, bright light is ideal, avoiding direct sunlight that can scorch the leaves.
Maintaining a stable temperature between 65-75°F (18-24°C) is critical, as philodendrons are sensitive to cold drafts and extreme temperature fluctuations.
Additionally, maintaining high humidity levels, ideally above 50%, can greatly enhance growth.
Regularly check for new growth and signs of acclimatization, adjusting care practices as necessary to support the plant’s development in its new environment.
Troubleshooting Common Issues
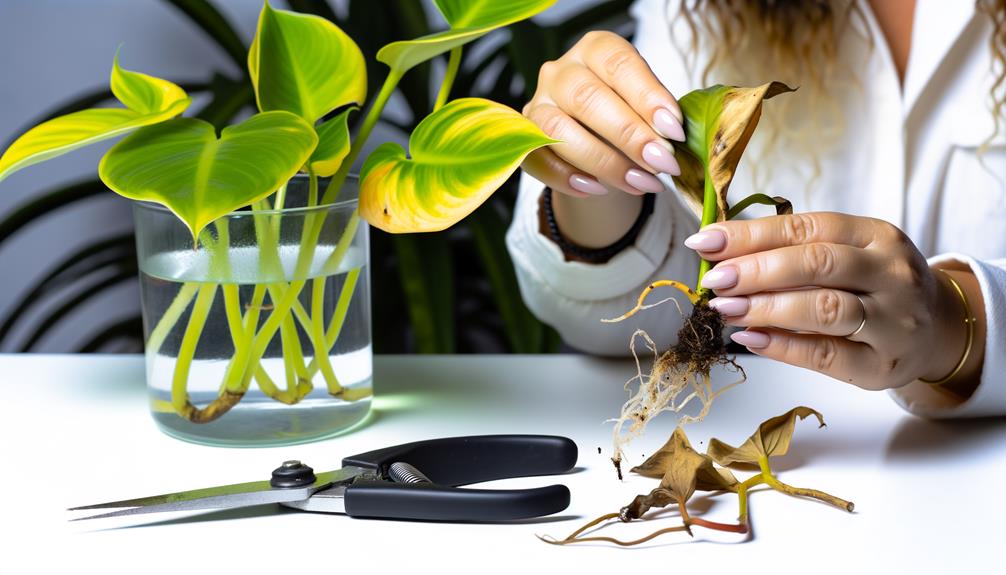
Despite meticulous attention, newly propagated philodendrons can still face several common issues that may hinder their growth and overall health. Identifying and addressing these problems promptly is important for successful propagation.
- Root Rot: Overwatering or poor drainage can lead to root rot, characterized by blackened, mushy roots and yellowing leaves. Ensure the soil is well-draining and water only when the top inch is dry.
- Pest Infestations: Common pests like spider mites, aphids, and mealybugs can attack new growth. Regularly inspect your plants and use insecticidal soap or neem oil as needed.
- Insufficient Light: Inadequate light can hinder growth, causing leggy and weak stems. Place your philodendron cuttings in a location with bright, indirect light for best development.
Giant Philodendron Propagation
Propagating a giant philodendron involves a few simple steps:
- Select a Healthy Stem: Choose a healthy stem with at least two nodes (the points where leaves attach to the stem).
- Cut the Stem: Using a clean, sharp knife or scissors, cut below a node.
- Prepare the Cutting: Remove any leaves near the bottom of the cutting, leaving a few at the top.
- Rooting Medium: Place the cutting in water or directly into moist soil. If using water, ensure the node is submerged. Change the water every few days to keep it fresh.
- Provide Optimal Conditions: Place the cutting in a warm, humid environment with indirect light.
- Transplant: Once roots have developed (usually in a few weeks), transplant the cutting into a pot with well-draining soil.
By following these steps, you can successfully propagate a giant philodendron.
Conclusion
The propagation of philodendron entails meticulous attention to detail. This includes selecting a healthy stem and ensuring ideal rooting conditions. Utilizing appropriate tools and adhering to best practices can greatly enhance success rates.
A keen awareness of potential issues and their resolutions further fortifies the propagation process. As the new plant takes root and begins to flourish, its growth embodies the culmination of careful planning and execution.
Will this methodical approach yield a thriving philodendron? Only time will reveal.

